Showing posts with label DIY. Show all posts

Friday, August 1, 2014

7QT - The 7 Steps of Home Improvement

In this house, DIY home improvement always goes a little something like this...

1. 
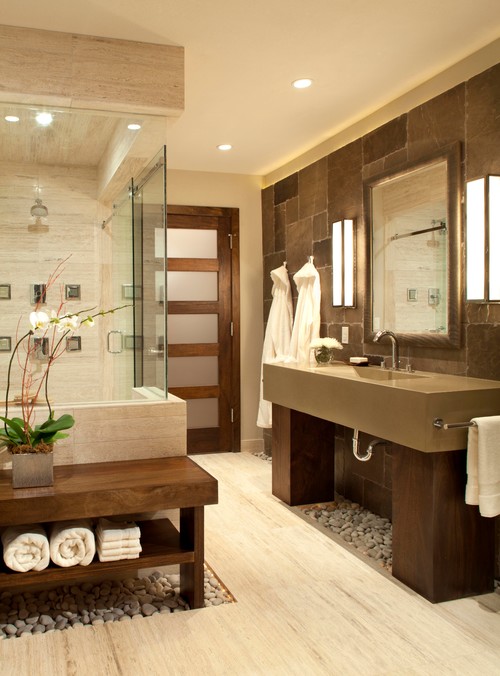
The Dream-- We find something on Houzz or Pinterest and are like YES WE CouLD TOTallLYYY dO THAT!!!!!
2. 
Then we look at our hall bath and realize... okkkk maybe that's a bit ambitious considering we have approximately a 5ft x 5ft to work with. Anndddd 8 foot ceilings. Sighhhhh We then scale back the dream and think...

3. 
We could start by replacing the light fixture.
Yea. Let's do that!

4. 
We go light hunting and end up at World Market where we find this beauty. 

It has some minor damage (see upper right corner) and so we ask if they have another in the back. They say no but that they will give it to us for 75% off. An $18 light? Yes. Please.

5. 
We come home feeling all rich and ready to do this.

But then the kids are hungry. We are hungry. Pause this project to end the starvation we are all experiencing.

6. 
A two whole weeks go by before we attempt the light project. Most of the delay is because we bought the wrong light kit for it and getting to Lowe's twice in one weekend is harder than running an ultramarathon, blindfolded, and drunk.
ANYWAY, so now we are really ready.
Nate takes down the old light only to realize the bracket to the old light is barely big enough for the new light. And the ceiling is all broken around it. And the bracket keeps moving every time Nate tries to screw the new light in. And all the frustrations are happening. And the kids are falling apart because once again someone is hungry.

7. 
And so the the light sits and waits for another day when maybe it will get hung. Maybe next weekend. Maybe next month. And until then, we have this... and no light.


Happy Friday y'all!!

Linking up with Jen

Monday, July 21, 2014

Kitchen Update

Oh the kitchen.... The home improvement we've been working on the most recently is the kitchen. There are so many things we want to do. If you remember our list of never ending things, one To Do was add beadboard and after a few weekends we finally got it up. And by we, I mean Nate. 

Since we were going to put the beadboard around the bottom part of the cabinets that extend out, we needed to raise the chair rail to counter height. That involved a lot of sanding, repainting, repairing, etc.


 I think fixing all the old molding took longer than actually getting the beadboard up.


Nate used a nail gun to put everything back up and then after a few coats of primer and paint, it looks wonderful!


I can't wait to fix up the rest of the kitchen, because it's so fun seeing the vision come to life. Slowly, slowly. If only we had all the money and all the time. Am I right?

BEFORE

AFTER/ PROGRESS


Thursday, March 20, 2014

SPRING IS FINALLY HERE!!!!!

Spring!!! It's finally Spring!!!

I realize that this doesn't necessarily guarantee warmth and happiness from now on, but at least I can say it's Spring.

As you've probably seen on Instagram, we've been busy building our vegetable garden.


We finally got the raised bed filled with dirt-- 50% compost, 50% garden soil, 25% top soil. No, that doesn't add up but that's basically the gist of it. 

I started some seeds in our Aerogarden, and they sprouted like champs. The other seedlings that I attempted in some egg cartons did nothing but kill my confidence in my never.buying.produce.again. future. 


Therefore, I was more than a little skeptical about all the seeds I planted in the raised bed--spinach, onions, cucumbers, zucchini, and squash.

But look! 

My little babies are growing!!

Photo & Video Sharing by SmugMug

I decided to do my "herb garden" in pots on our steps for easier access and because I ran out of room in my tiny raised bed farm.


The basil is clearly taking the lead here, but oregano is also sprouting, you just can't see it. Italian dinners for all!!

Like I said, I ran out of room, so I decided to try my hand at a non-raised bed veggie garden for all those little seedlings that did grow-- tomatoes and peppers (or toms and peps as I keep calling them to Nate who keeps ignoring my pet names for them. It will catch on. It will.)


The sense of pride I feel for having dug and tilled that all by hand is almost obnoxious. But then I realize I still need to move all this sod and dirt and roots and... I'm tired.

Photo & Video Sharing by SmugMug

Well there you have it. We'll see how these babies do and if I actually get some veggies from it all.

Happy Spring!!!!!


Monday, March 3, 2014

Weekend Moments--Or Where I Recap All We Didn't Do

How was everyone's weekend? Was it good? Busy? Relaxing? Maybe a bit of all of the above and then some.

Since moving into the house, our weekends have become a mad dash to accomplish all the things we want to do to the house. And as Nate says, every project we start reveals 3 more we didn't know existed. It's definitely teaching us all about home maintenance--or our tolerance level for frustration and patience and all that jazz.

This weekend we accomplished......

Not a ton. That's the joy of kids isn't it. A bajillion half-finished projects.

We managed to build a raised bed for the future vegetable garden... but it has no dirt (or plants for that matter.)


The door got a fresh coat of paint, but only one because we ran out of time.


Changed some of the light switches out, but then one broke so now we need an electrician... so obviously that's on hold.

I hung 2 out of 87675643 pictures we have.

I decided on fabric for Clare's room, but didn't have time to order it.


And I'm sure there are some other *not finished* tasks I'm forgetting.

All that being said, I really like how the house is coming along. I'm hoping to do some "Before and After Progress" post soon because nothing is actually in the "After" stage yet.

Soooo... tell me about your weekend? Get anything accomplished? Or was it a little more like ours??

Wednesday, February 19, 2014

"Greige" or The Painting Failure

This is the saga of painting the living room. Buckle up, settle in, grab some popcorn, and continue on. It's a long one, and it's about pain paint. A nail biter I know.

There's one thing I've wanted to do since we signed away our life and bought this house--paint. Of course there are a ton of things I want to do, but painting is so easy and relatively inexpensive in comparison to demo-ing bathrooms and such... Within a relatively short amount of time I had all the paint colors for the entire house picked out in my head. I wanted a color scheme, and flow, and all that jazz. Our house doesn't have an open floor plan so I wanted the colors to help with that and not make each room feel even more sectioned off. Anywayayayayyyy....

Our living room is on the smaller side so I wanted to stick to a light color. Grey is really popular right now, and don't get me wrong, I love me a good grey, but I wanted something a little lighter. A little more beige. Something known as "greige." Problem is, I had all these colors in my head, but my head doesn't know paint chip names. Thus began the search to put a name to these mind colors.


Did you know greige is apparently very hard to find? Ok ok ok. It's not that hard, but it is when you have this exact color in your mind and you can't find it no matter how many paint samples you put on the wall. I told Nate I wanted something light, but not white. Kinda like the color white is when it has shadows on it. He just gave me a blank stare and said "Good luck with that." Followed by "Take a picture of the Paint Man's face when you tell him that."

After a few paint samples on our wall, we found "the one" and off we went to buy our gallon (along with a beautiful grey for the bottom half of he hallway--we have a chair rail... I'm digressing. We're talking about the griege here.) Since I love to paint, the second we got home I start slapping that lovely subtle greige on the wall.

Hmm....

This is kinda white.

I like white? Maybe it just needs another coat.

Another coat later...

Ok this is not subtle anything. This is just blatantly white.


And now my eyes are blinded by the brightness of it.


See aren't your eyes bleeding too a bit??

Really these pictures aren't doing the paint's radiance justice. 

Nate doesn't think the paint got tinted like it should have, but I can't exactly go back to Lowe's and say "Hey, I know there's less than half a gallon left in here because I painted my entire room--twice--but I think you messed up." Also, what am I going to say... this paint (called Woodland Bedroom White) is white?! 

Now before you get all judgy and say "Mary Helen... what were you thinking??" I will tell you what I was thinking. The paint did not look this white on the paint chip nor on the wall when we did the sample. So maybe something was wrong with the paint. I dunno. We will never know. However, it has to go. We can't keep the lights on at night because the walls scream at us with whiteness. 

What happened next should probably be left off the blog because as the bestie said, I was one paint sample away from her calling Intervention and sending me to get some help. 
No... that's not all of them.

I had to switch to Home Depot because I know the Lowe's Paint Man was starting to worry about me as well. Even Clare was giving me the "Mom, just pick a color already" look every time she woke up and found herself in the paint section yet again.


At one point the mosaic of wall colors was driving me to try my hand at mixing my own paint. Nate stopped me and said that I had to just pick one. I decided to try the one that kept catching my eye, and I used it to paint over all the other paint trials on the walls. The more I painted, the more I realized that my greige did exist and it was called Stonewashed by Behr. 

I went and got myself a gallon today. And as I type I'm watching the hubby put it on the wall (he's a painting expert.) 


I'm in love.

With him and the paint, of course.

Once the room is "finished", I'll do a before and after.